Installing a solar system in Perth is a significant investment that requires careful planning, professional execution, and thorough quality control. Understanding the full lifecycle of a solar installation helps consumers make informed decisions and ensures long-term efficiency and reliability. Below, we break down the key stages from the first quote to the moment the system is switched on.
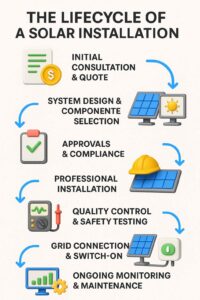
- Initial Consultation & Quote
The process begins with an assessment of your property’s energy requirements and site conditions. Installers consider roof orientation, available space, shading, and current energy usage. From this, a tailored proposal is created, detailing system size, component options, projected savings, and estimated costs. Transparency at this stage allows you to compare offerings and ensure value for money.
- System Design & Component Selection
Once the quote is accepted, the design phase begins. Installers select panels, racking systems, and other components based on efficiency, durability, and compatibility. The choice between a solar inverter installation and additional features like monitoring systems is also finalised. For households aiming for energy independence, a solar battery installation may be recommended to store excess power for night-time or peak use.
- Approvals & Compliance
Solar installations must meet local council regulations and electrical standards. Installers handle permit applications and grid connection requests to the energy provider. This stage ensures the system complies with safety and energy guidelines, preventing delays once the hardware arrives.
- Professional Installation
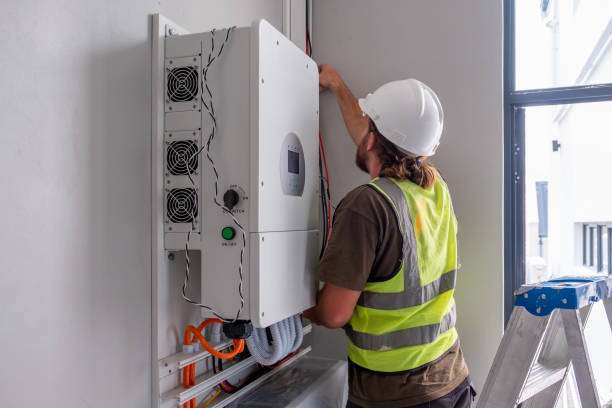
Qualified technicians mount panels securely, connect wiring, and integrate the inverter and optional battery. Proper positioning and electrical integration are vital for maximising system performance. Certified installers also ensure weatherproofing and compliance with electrical codes.
- Quality Control & Safety Testing
Before the system goes live, thorough inspections are carried out. Installers check structural integrity, wiring safety, grounding, and inverter functionality. Independent inspections may also be conducted depending on local requirements. Only after passing these tests is the system cleared for connection to the grid.

- Grid Connection & Switch-On
Once approved, the system is connected to the electricity grid. The installer will activate the system, demonstrate monitoring tools, and guide you through maintenance basics. At this stage, your solar system starts generating renewable energy, immediately reducing reliance on the grid.
- Ongoing Monitoring & Maintenance
A quality installation doesn’t end at switch-on. Reliable providers offer monitoring solutions to track system performance and detect potential issues early. Regular maintenance checks, usually every 2–3 years, keep the system operating efficiently for decades.
Conclusion
The lifecycle of a solar installation is more than just fitting panels to a roof—it’s a structured process that prioritises safety, compliance, and long-term value. From the first quote through to quality checks and final switch-on, each stage plays a crucial role in delivering a system that provides consistent energy savings and sustainable performance

